By: Molly Glass, Kayla O’Neal, Lilly Sweaney, and Liam Walker
This project helped us learn how to use the engineering design process to create a project.
Our project required the use of electronic components, which can be hard to work with. We learned how to combine an Arduino, motor controller, motor, ac/dc converter, and a bluetooth module to create our product.
The design of our product had to work with existing stove designs, we did many measurements and tests to ensure that our product could fit into 5 other stoves.
1

Less Than 800 ppm of GasThrough regular use of the product, less than 800 parts per million of gas will leak.

2

Emergency Shut OffOur product will automatically shut off when gas levels exceed safe amounts.

3

Young Child/Pet-ProofOur product will render the stove young child/pet-proof so it is safe to leave unattended with young kids and pets.

4

App That Monitors the Stove StatusThere will be an app that monitors the status of the gas flowing to the stove and allows the user to shut off the stove.

5

Added to Stoves From Production StageThe device will be a product that can be added to stoves from the production stage, removing any interaction from stove users.

6

LED IndicatorThe product will have an LED indicator that alerts the user that gas has been shut off.

7

Notify the User After it Has Been Shut OffThe stove will notify the user after it has been shut off and the user can easily reset it.

Proof of Concept
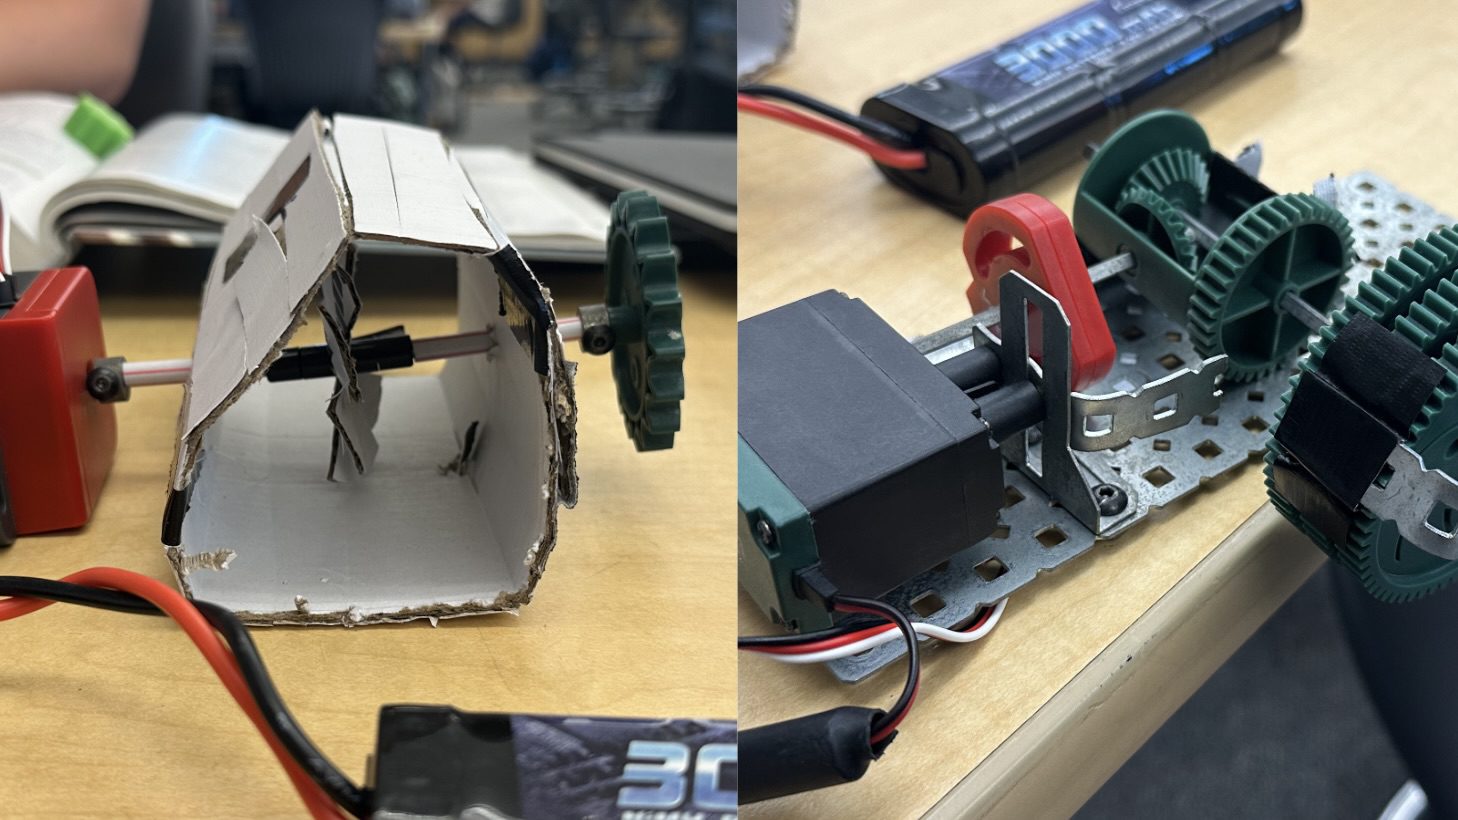
Our first step was to create our proof of concept. We originally thought that a motor system to shut off the knob could work with a gas flow meter. After talking with our mentor, we realized that we didn’t need a flow meter to show us gas was flowing because we could assume that it was when the knob turned. We decided to take our project in a new direction and work with heat rather than gas flow. 
Our Stove
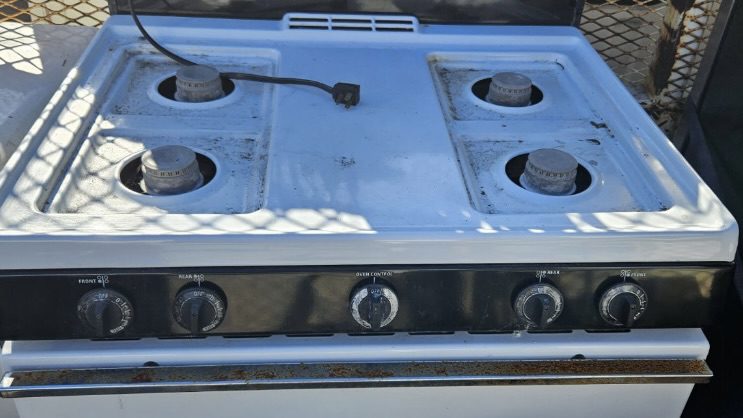
After lots of calling around and trips to recycling yards, we found our beloved stove. With the help of Rob from Appliance Recycler, we were able to get our stove for free!
Modifications
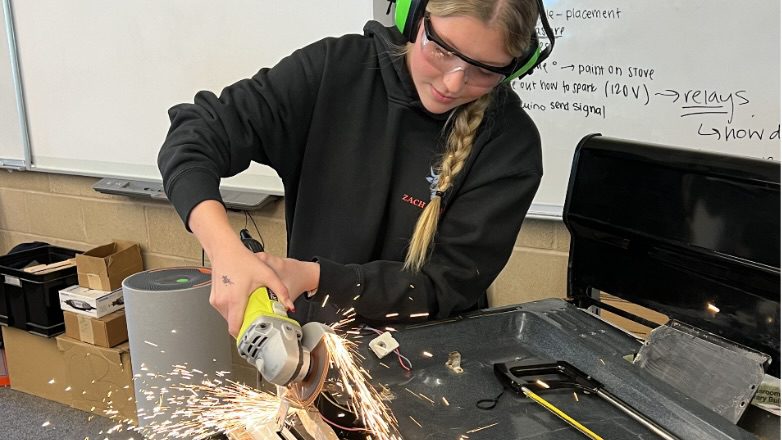
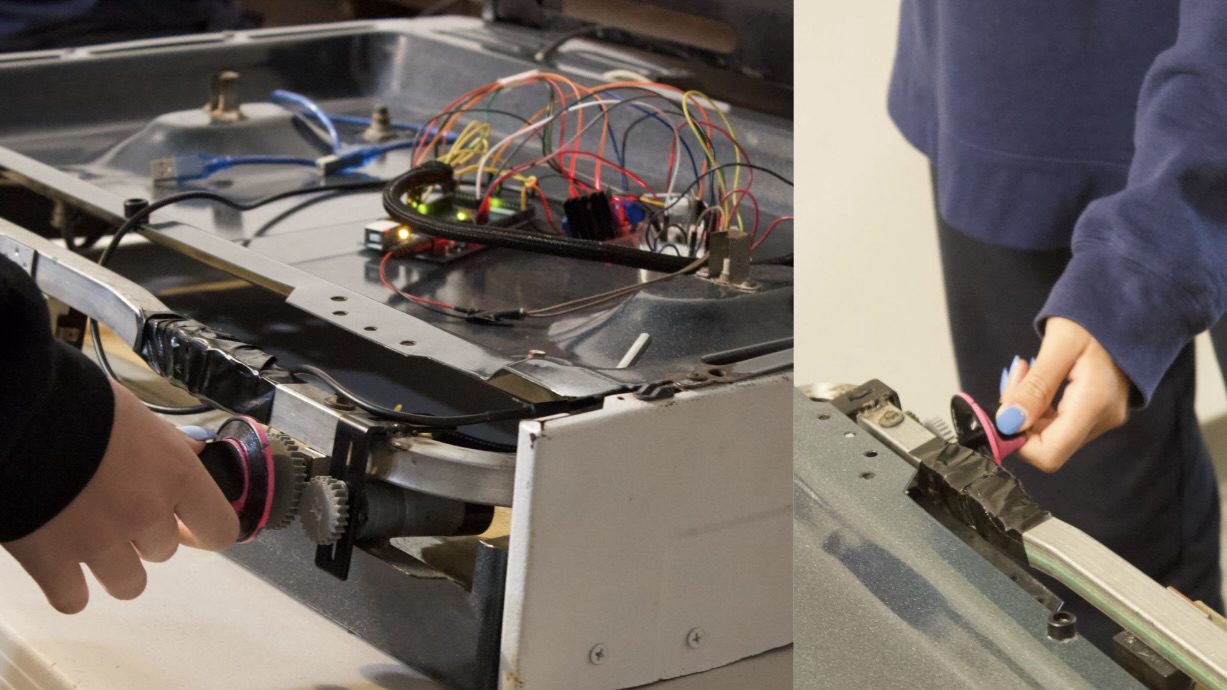
As you all can see, it has faced a few modifications from its original state, to how it is today. All of these modifications were done to improve aesthetics, increase ease in transportation, and figure out how the whole thing works. 
Gears
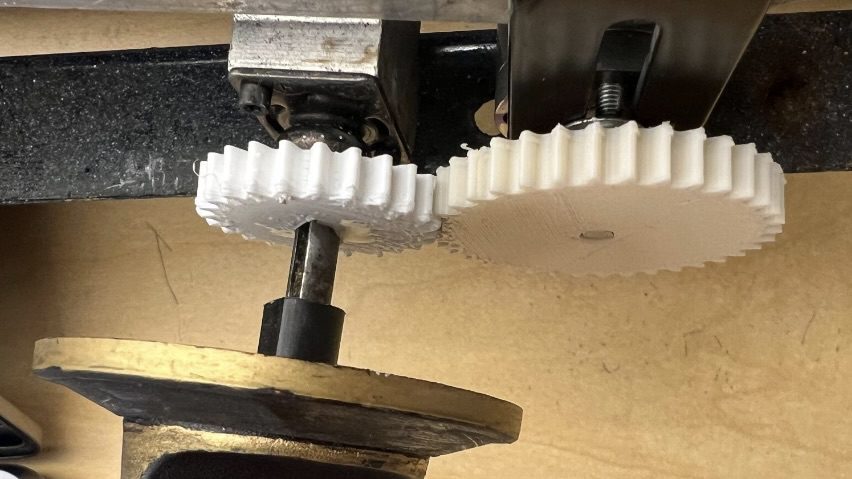
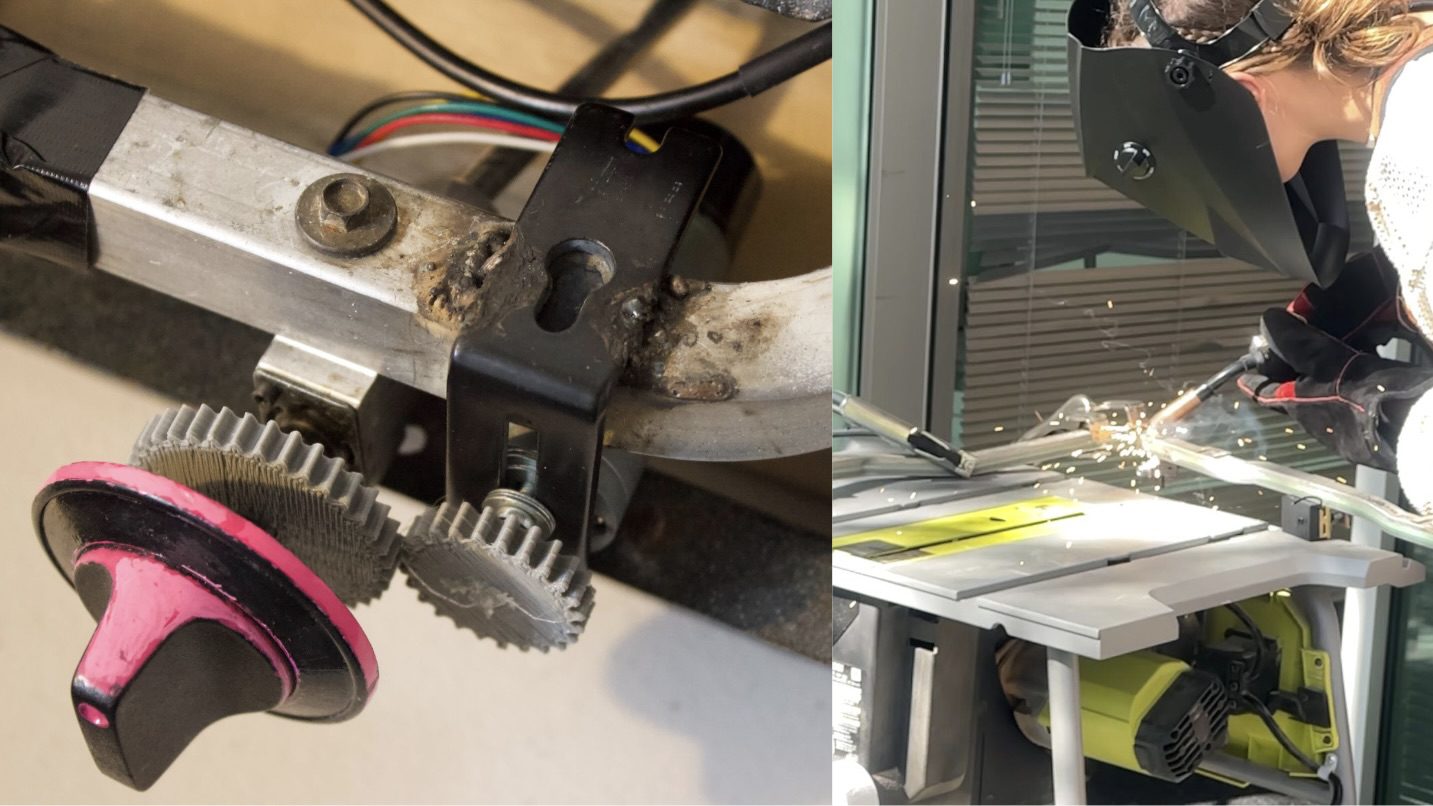
In order to make our system work with a motor, we needed some gears. We designed gears to fit around the motor and the burner valve, which connects to the knob. We originally started with a 24 tooth gear around the burner valve and 36 tooth gear around the motor, however, this created a gear ratio that was too low and required too much torque from the motor. We fixed this issue by switching the 36 tooth gear to the burner valve so less effort was required from the motor. 
L – Bracket
The next issue we confronted was how to attach the motor next to the burner valve. We started with 3D designing a mount. Our first design was zip-tied around the gas line, however it allowed the motor to move out of place. This proved to be too fragile and easily detached. We needed a different solution that was more sturdy than 3D filament. Using the screw holes built into the motor, we realized we could attach the motor to an L-bracket and attach the bracket to the gas line with some welding. Which as you can see it didn’t turn out quite as well as we had hoped, but it still does the job!
Thermocouple
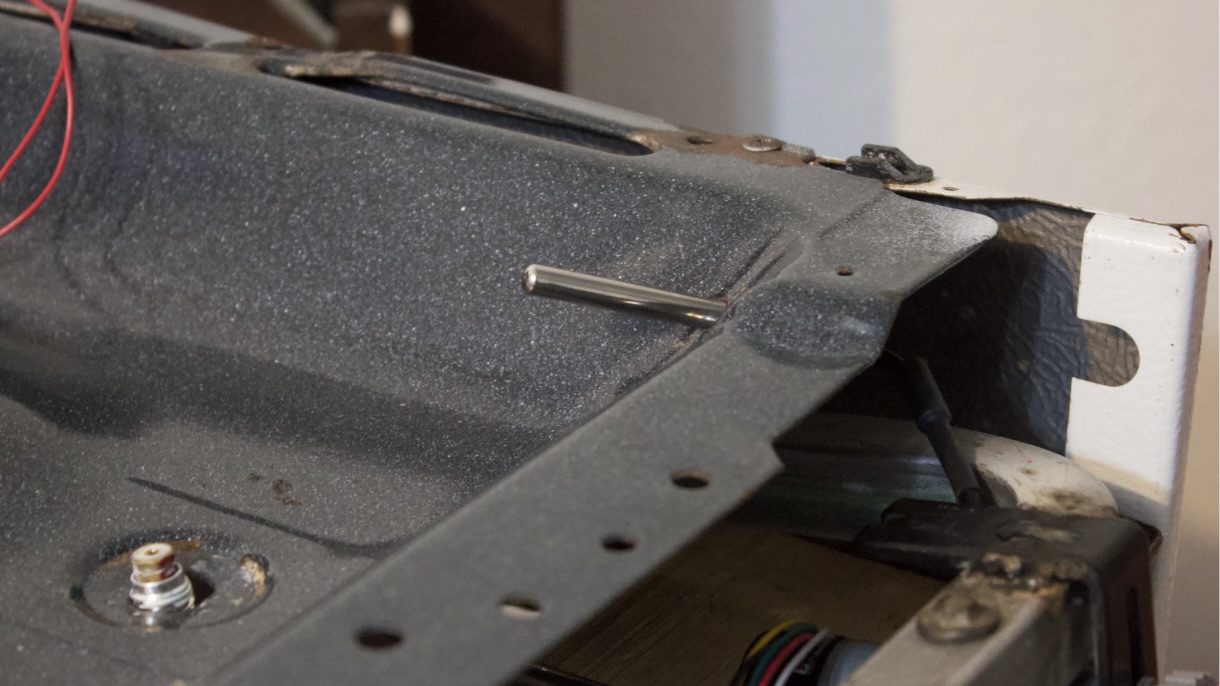
Paired with the motors, the thermocouple was added by the gas nozzle so that it will be able to detect heat without exceeding the maximum temperature restriction.
Electronics
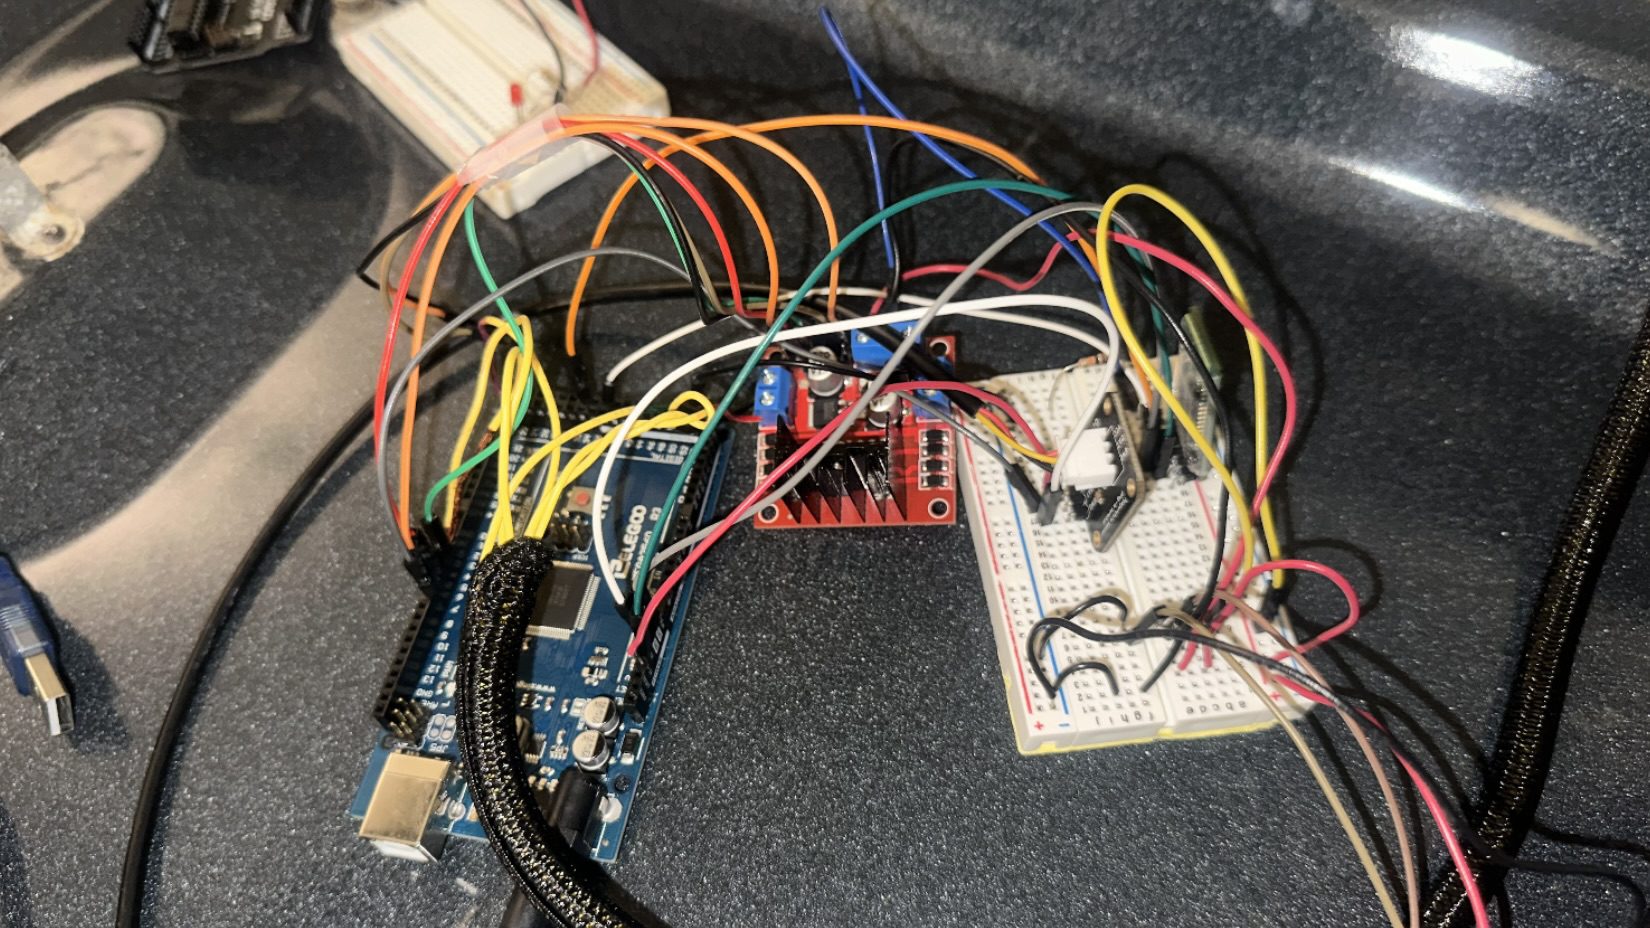
Learning electronics proved to be difficult, however we were able to connect a motor controller, power supply, bluetooth module, and LED light to our Arduino. Here is everything put together, as you can see, it looks great!
Logic
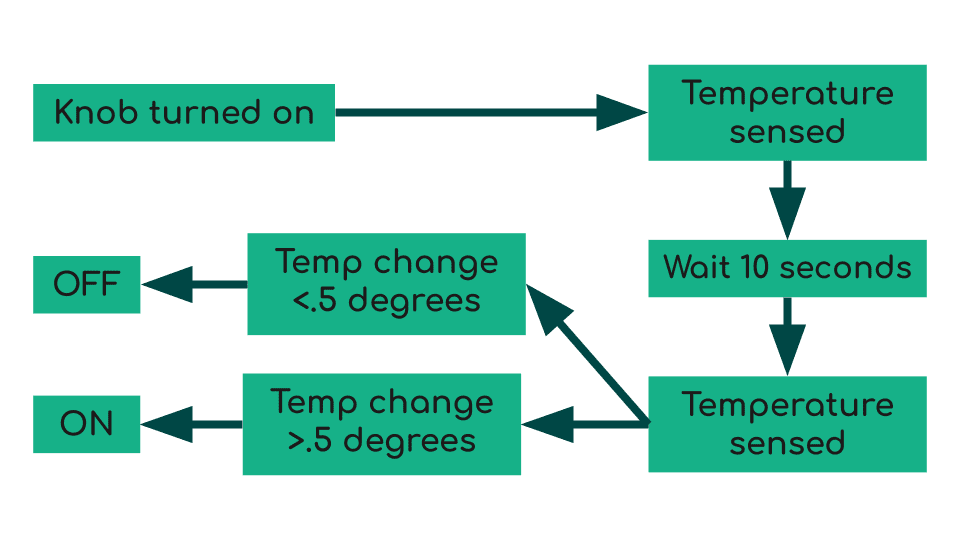
When the Arduino detects the knob has been turned the Arduino grabs the current temperature, waits 10 seconds, then grabs the temperature again. If the temperature change is less than .5 degrees fahrenheit then it shuts off. If not then it stays on. With all of the parts put together, here is a video of our product working, with a heat gun to simulate fire, and compressed air to simulate gas flow: 
Testing
We tested gas leakage by sealing a balloon over the valve post-shutdown; no inflation indicated no leaks. For specs 2, 4, 6, and 7, 5 individuals operated the stove without heat, checking for shutdown, app updates, and LED activation controlled via the app. Test 3 involved 5 users mimicking accidental knob contact to ensure immediate shutdown. For spec 5, we compared measurements with 4 other stoves, confirming compatibility with minor adjustments pre-production.
Our Mentor